DIY: How to make a curved garden bridge
Summer is finally upon us, and it is time to enjoy the garden and all its wonders! Don’t you all just want curved garden bridges? In my garden I have a big stream and a small stream. I just really wanted some bridges, and when my dad came visiting we decided to just go through with it. We did it all as easy as possible! So then I thought, why not tell you all about how we did it? They almost didn’t cost me anything! Also you don’t have to have streams or rivers to make a bridge, it could just as well be a ditch, or curves in the landscape.
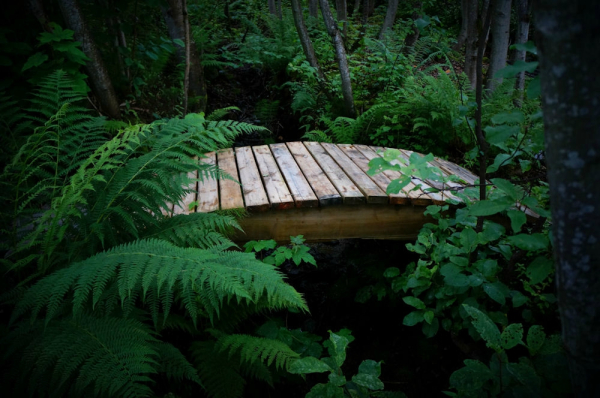
When we bought this property, there were some pressure treated pallets laying around, so we simply removed the nails and cut the planks to the desired lenght. I do recommend pressure treated materials, as they won’t rot, even when laying close to the ground and on wet places.
So how to make the curve? I’m sure you could buy already curved planks, but I guess they will become a little costy!
We bought the widest pressure treated plank we found at the local carpentry store, and then we cut it with a jigsaw. I have an electric one. I just drew the curve free hand, then placed the parts opposite. It looked like this:
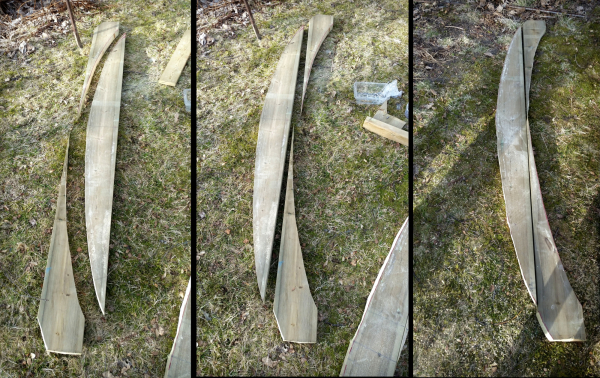
Try to make the curve as arched as possible!
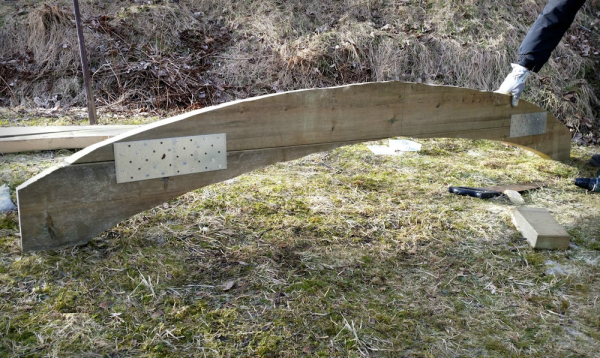
Fused together with those pieces of steel
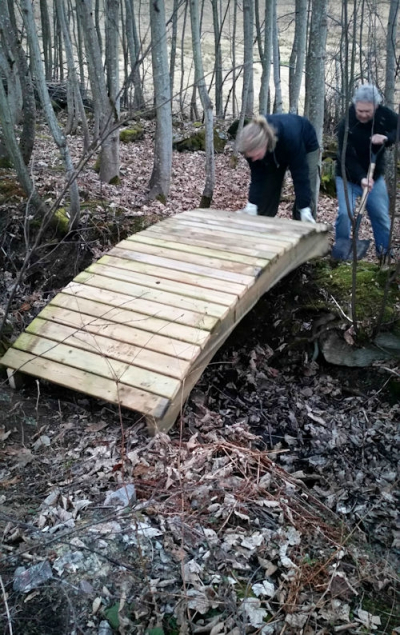
Then we nailed the planks, two nails on each side of the plank.
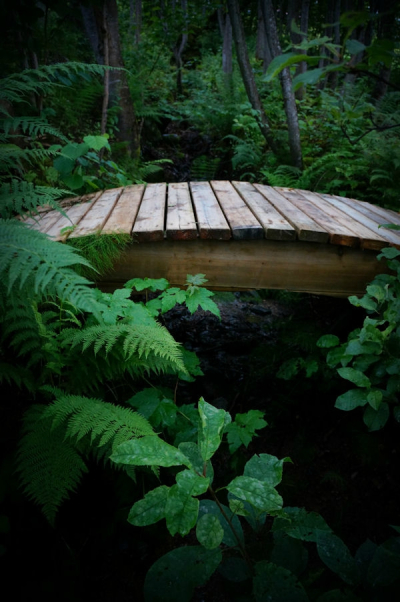
We did dig a bit in the ground so the bridges lay nicely, and put some flat rocks to step on, on each side.
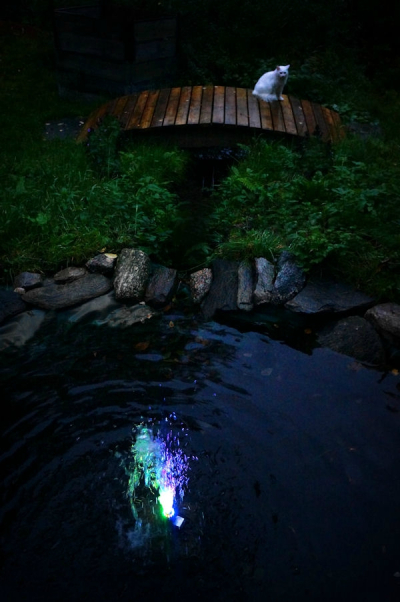
My cats kind of like them! Here is a pond we made, now with a LED fountain.
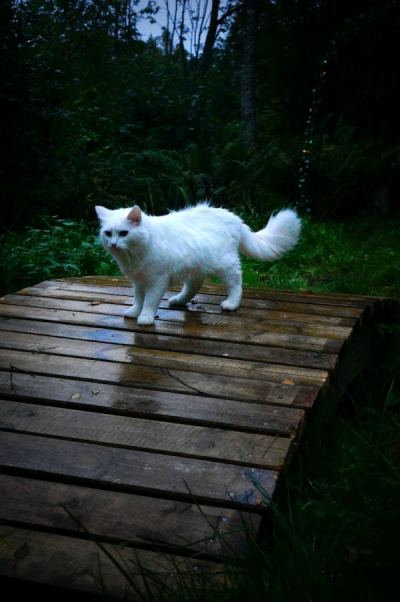
I’ve had these bridges for a couple of years already. We made two curved, and one smaller flat bridge. I kind of want to make a railing on them, but we’ll see! It would look cool if it was rustic, or just ropes. Or what do you think? These bridges could look really enchanting with railing and lanterns, or fairy lights! Or garden statues 🙂
For safety, I’ve nailed a few planks at 2 cm width on each side of the bridge, so people won’t slip on them.
Are you ready to make your own bridge?
xvideos,
xnxx,
xvideos,
porn,
xxx,
sex việt,
Phim sex,
mp3 download,
phim xnxx,
Canada Petcare Com,
porn videos,
American porn,
Eatontown Dmv Road Test,
Free brazzer,
free Hentai,
Download Mp3,
Porn vido indan,
gozando,
pornxnx,
Free Music,
xnnx porno brasil coroas brazil,
Dairy Queen Canada Delivery,
free brazzer,
Matt Swarmer,
What Were Kleenex Tissues Originally Used For,
phim xnxx,
Detroit Tigers 1984,
2018 Astros,
phim xxx,
Dimaria Age,
xvideos,
phim séx,
MY FREE MP3,
American porn,
roblox porn,
Man Gym Clothes,
Lol Fashion Show Mega Runway,
black horny old man eat pussy,
mc mirella pelada,
tru kait,
Crossing Jorden,
free brazzer,
sex,
jav,
buceta,
Free MP3,
Lego Pneumatic,
heo69,
sex,
free porn xx,
jav Sex,
sex xxx,

So cleaver! It’s absolutely magical <3